


Quick answer: Pre-chill premium canned drinks, pack them upright between cold packs or ice, protect them from heavy items, and keep the cooler stable during transport. At your destination, let recently moved cans stand upright for a few minutes before opening them slowly.
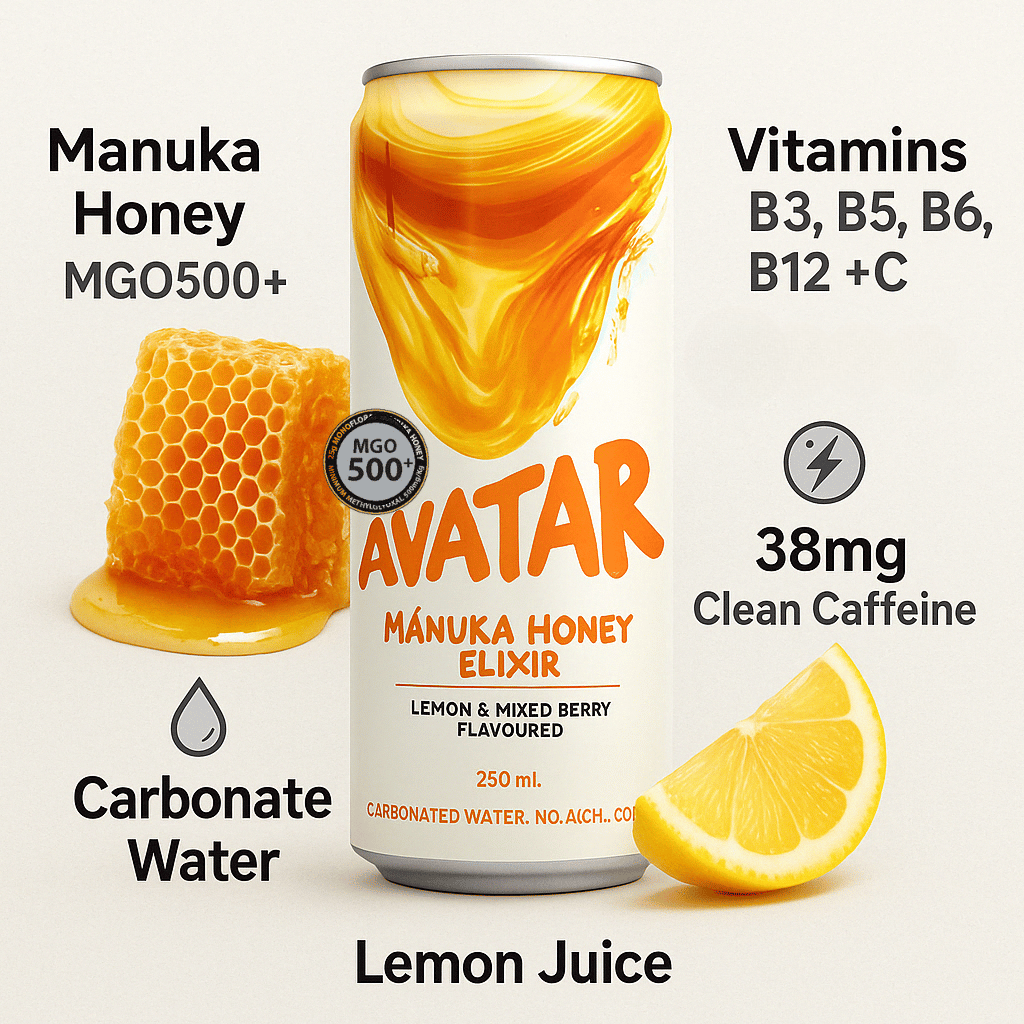
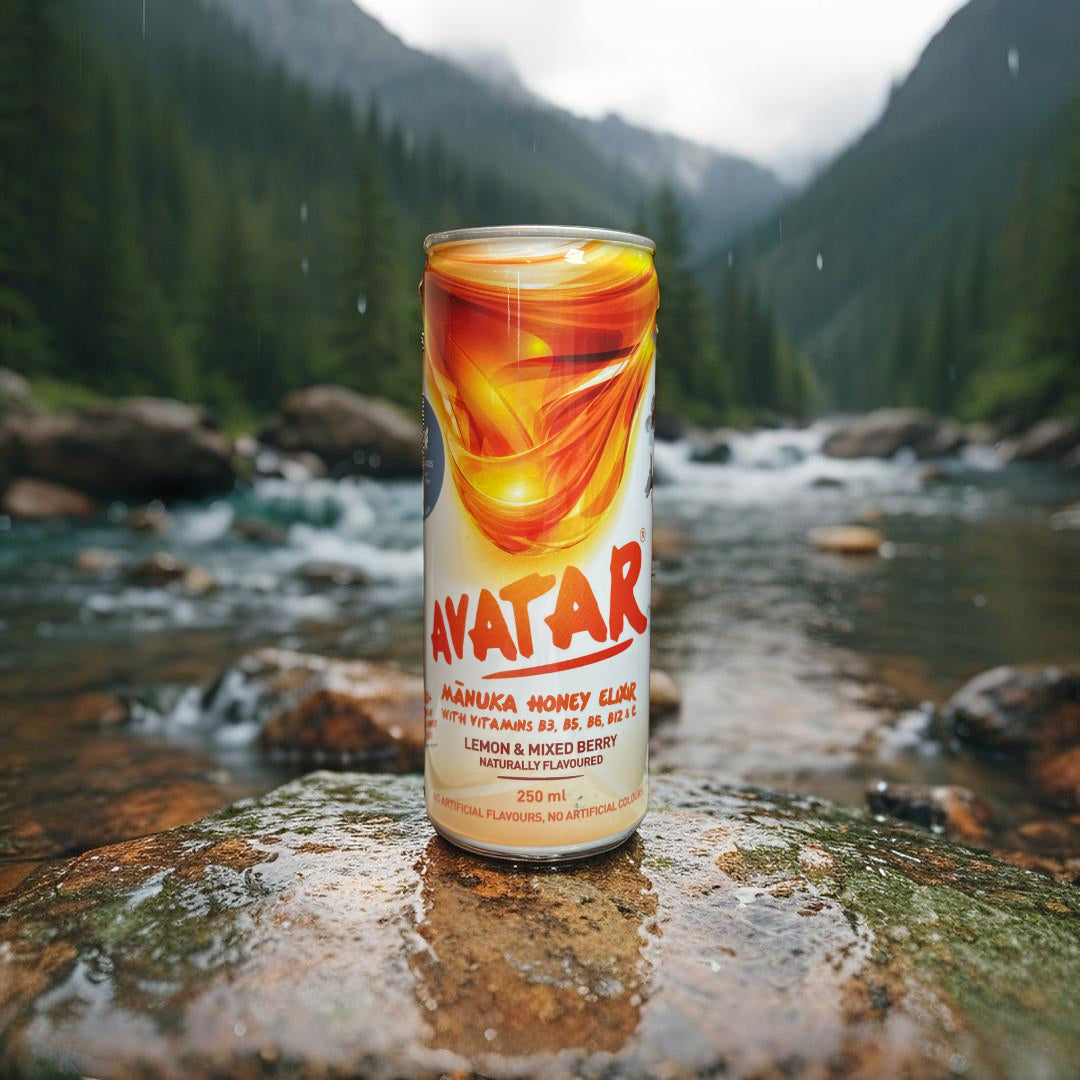
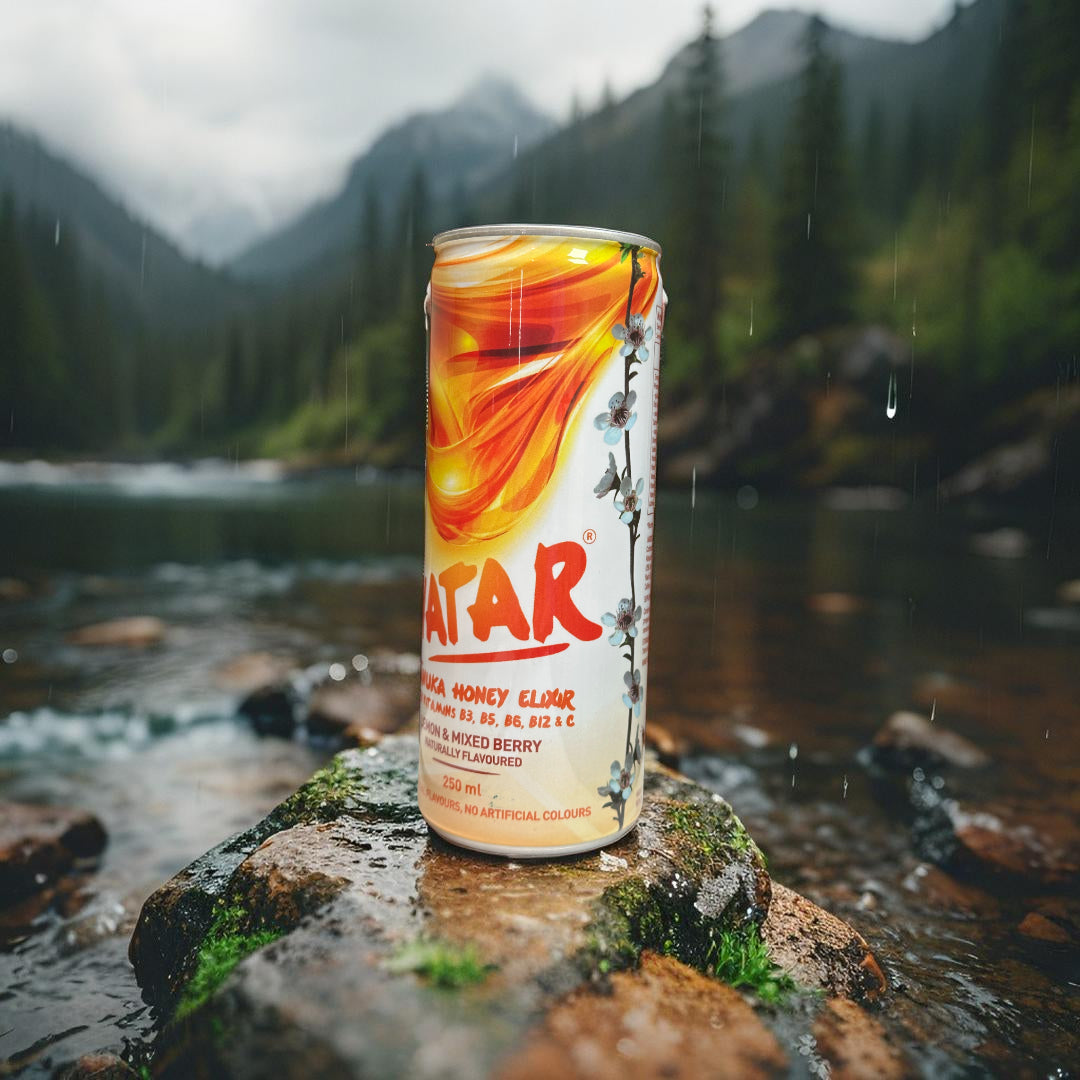
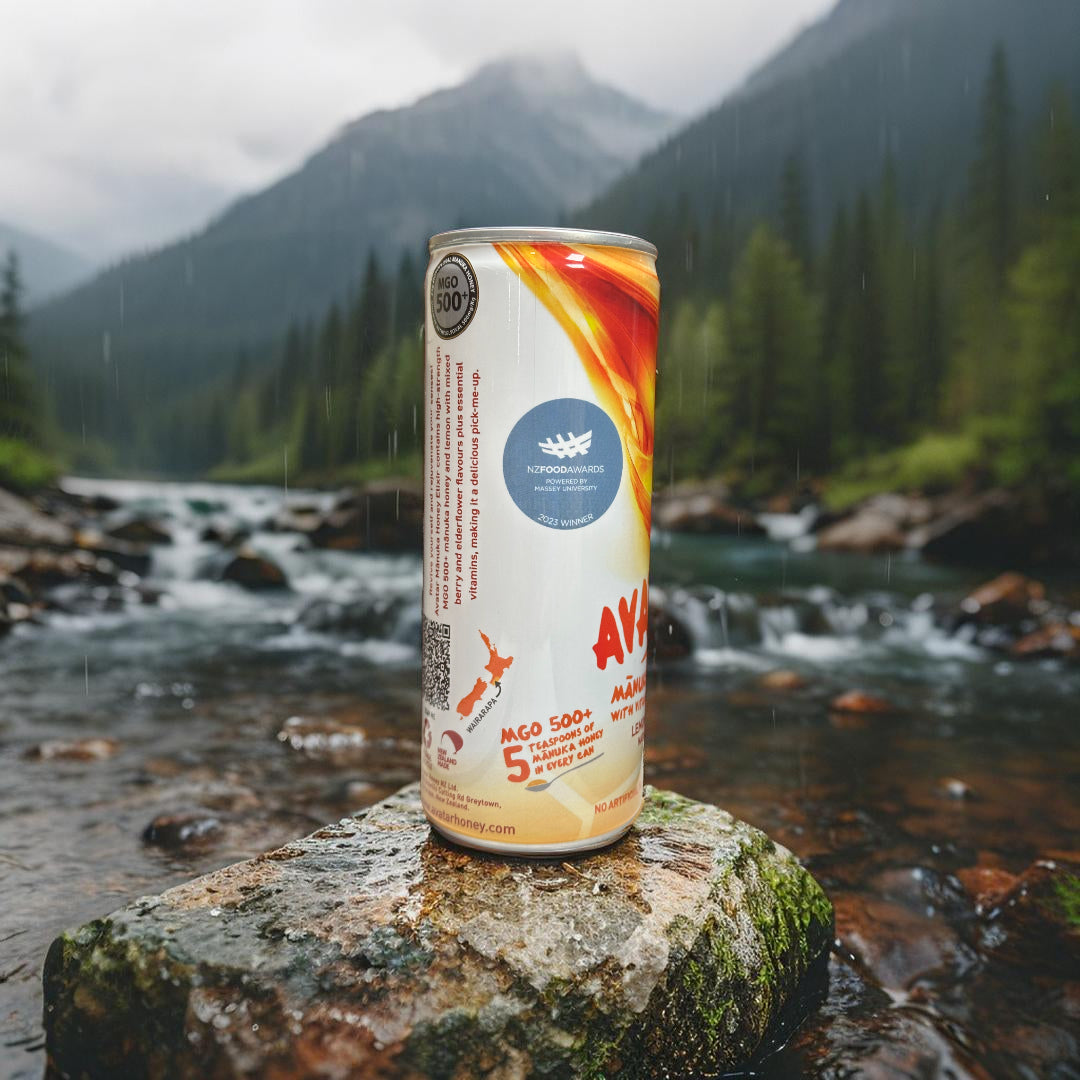
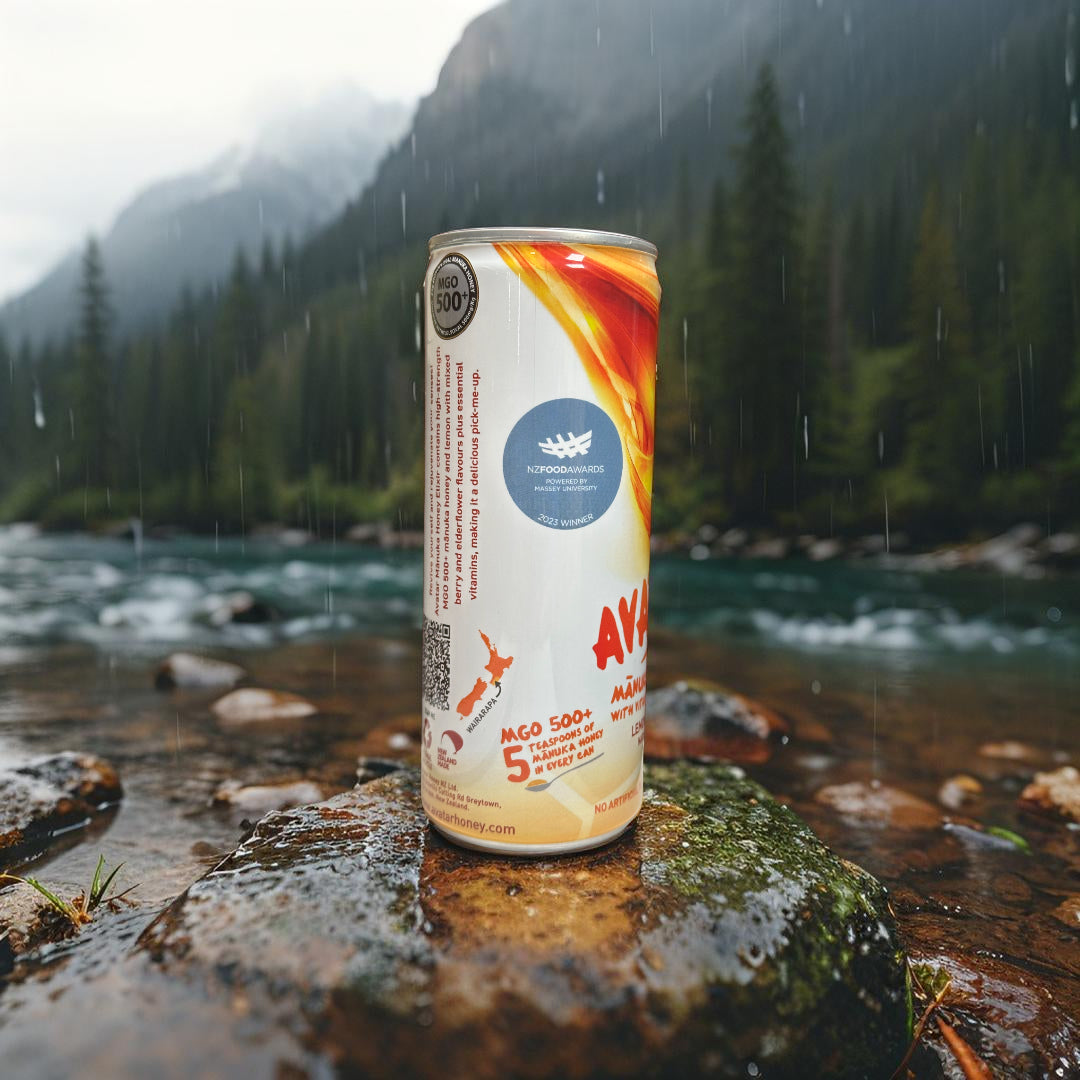
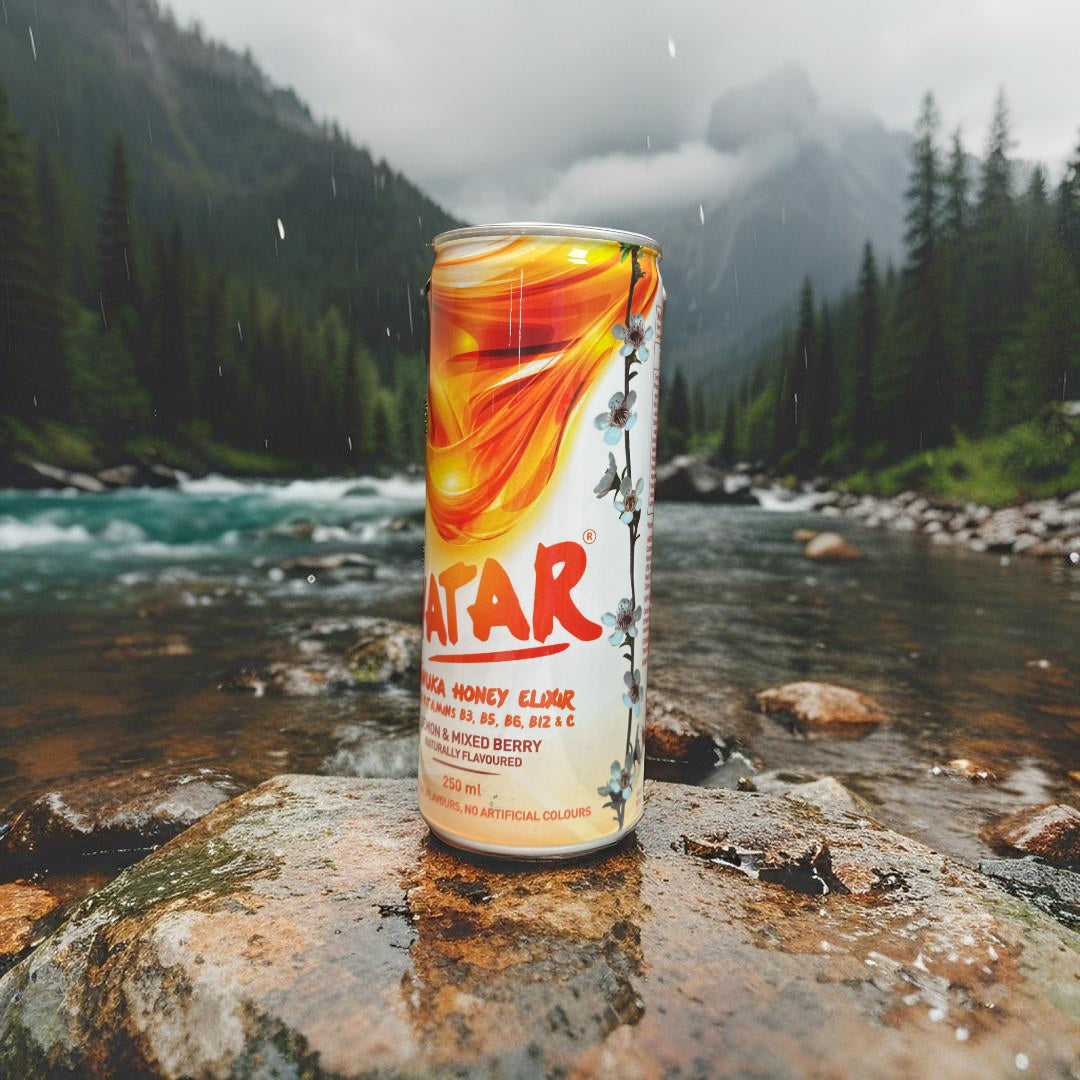
A good cooler setup keeps canned drinks cold, limits dents and movement, and reduces the chance of a foamy opening. For a concrete example, this guide uses 250 ml cans of Avatar Elixir, whose Manuka honey, lemon, elderflower, and light carbonation are best appreciated cold.
What you need
- A clean, insulated cooler in a suitable size
- Pre-chilled 250 ml cans of Avatar Elixir or another premium canned drink
- Cold packs, bagged ice, or a combination of both
- A clean towel, flexible divider, or small piece of cardboard for cushioning
- Sealed containers for any food sharing the cooler
- A recycling bag for empty cans
How to pack canned drinks in a cooler
-
Pre-chill every can
Place the cans in the refrigerator well before departure. Starting with cold drinks means the cooler only needs to maintain their temperature rather than cool them from room temperature.
Avoid relying on prolonged freezer time. Forgotten cans can freeze, expand, split, or create a mess.
-
Choose a cooler that fits the load
Use a cooler that holds the cans and cooling material without forcing the lid or leaving a large amount of empty space. An oversized cooler allows more movement and contains more warm air, while an overfilled cooler can put pressure on the cans.
If possible, use a separate drinks cooler for gatherings where the lid will be opened frequently. This also keeps canned drinks away from raw meat and other food that could contaminate the can tops.
-
Create a cold base
Place a flat cold pack or a shallow layer of bagged ice across the bottom. This gives the cans a cold, even surface and helps cushion them from the hard cooler floor.
If loose ice could block the drain or mix with food packaging, keep it in sealed bags.
-
Arrange the cans upright
Stand the cans upright in a close, stable group. For 250 ml Avatar Elixir cans, place the first row snugly against one side of the cooler, then continue until the planned quantity is packed.
Upright cans are easier to secure and can be removed without disturbing the entire load. Do not force extra cans into a space that is too tight.
-
Fill gaps and protect the cans
Add cold packs or bagged ice along the sides and between open spaces. Use a clean folded towel, flexible divider, or cardboard separator where needed to stop the cans from knocking together.
Keep heavy bottles, cast-iron cookware, barbecue tools, and dense food containers away from the cans. If these items must share the cooler, position them securely at the bottom or behind a firm divider so they cannot shift onto the cans.
-
Cover the top and close the cooler
Add a final cold pack or a sealed bag of ice over the load without pressing down hard. Check that the lid closes normally and does not rest on the cans.
Close the cooler promptly. Each unnecessary opening allows cold air to escape and adds heat from outside.
-
Keep the cooler stable in transit
Place the cooler upright on a flat surface in the vehicle. Secure it so it cannot slide, tip, or bounce around during turns and stops. Do not stack luggage, chairs, or barbecue equipment on the lid.
Agitation does not permanently add carbonation to a sealed drink. It can, however, disperse gas through the liquid and encourage a messy release if the can is opened immediately after transport.
-
Let the cans settle before serving
At your destination, set the cooler down gently. Remove the first cans you plan to serve, stand them upright on a stable surface, and allow them to rest for a few minutes.
Check each can before opening. Set aside any can that is leaking, bulging, punctured, or badly damaged around the seam. Open sound cans slowly and point the opening away from faces, clothing, and food.
How many cans should you pack?
Plan according to the number of adults, the length of the gathering, the availability of water and other drinks, and whether the beverage contains caffeine. Check the label and make sure guests know what is being served.
For example, if six adults each expect one 250 ml can and you want two extras for choice or unexpected guests, pack eight cans. This planning method does not depend on shipping cartons, case sizes, or assumed cooler dimensions. Confirm that your chosen cooler can hold the cans plus enough ice or cold packs before packing.
How to manage meltwater
Cold meltwater around sealed cans is not automatically a problem, and it can maintain contact with their surfaces. The practical concerns are sloshing, added weight, dirty can rims, and water reaching food that is not properly sealed.
- Keep food in watertight containers and separate raw foods from drinks.
- Drain excess water only when the cooler is stationary and it can be done without losing all your useful cooling material.
- Add fresh ice or cold packs if conditions are warm and the remaining contents are no longer staying cold.
- Wipe or rinse the top of each can with clean water if it has been exposed to spills, food residue, or dirty cooler water.
- Do not use melted cooler ice as drinking ice.
Common packing mistakes to avoid
- Packing room-temperature cans: This uses the cooler's cold capacity to chill the drinks instead of maintaining an already cold load.
- Leaving large empty gaps: Open space allows cans to move and makes the cooler less efficient.
- Putting heavy items above cans: Shifting loads can dent, puncture, or crush them.
- Opening a can straight after a bumpy trip: Give it time to stand upright and settle first.
- Opening the cooler repeatedly: Decide what you need before lifting the lid.
- Using damaged cans: Do not serve cans that are leaking, bulging, punctured, or severely damaged around the top, bottom, or seams.
Departure checklist
- All cans are refrigerated and cold before packing.
- The cooler is clean and large enough for drinks and cooling material.
- Cold packs or ice surround the cans without crushing them.
- Cans are upright, cushioned, and protected from heavy objects.
- Food is sealed, with raw items separated from drink cans.
- The lid closes fully without pressure on the contents.
- The cooler has a stable, secured place in the vehicle.
- Water is packed separately for guests.
- A bag is included for collecting empty cans.
You are ready to leave when
You are done when the cans are cold, upright, cushioned on all sides, protected from crushing loads, and secured inside a closed cooler that will remain stable during transport. At the picnic, beach, barbecue, or outdoor gathering, keep the cooler shaded, return unused drinks promptly, and let moved cans settle before opening.
Collect empty aluminium cans and place them in an appropriate recycling bin where available. Before leaving, check the area for tabs, packaging, ice bags, and other waste.
These practical follow-ups help you choose cooling materials, share cooler space safely, and recover from a tipped cooler.
Should I use bagged ice, cold packs, or both?
Use the option that best fits your cooler, or combine both. Flat cold packs create a stable base and keep cooling material contained, while sealed bags of ice can fill spaces around 250 ml cans. A combination works well when it surrounds the cans without pressing on them or preventing the lid from closing normally.
Can canned drinks share a cooler with picnic food?
Yes, provided the food is stored in watertight containers and raw items are kept separate from drink cans. Secure heavy containers so they cannot shift onto the cans. If spills or dirty meltwater reach a can top, wipe or rinse it with clean water before opening.
What should I do if the cooler tips over?
Set the cooler upright gently, then check the cans for leaks, punctures, bulging, or serious damage around the seams. Stand sound cans upright and let them settle for a few minutes before opening slowly. Tipping does not permanently add carbonation, but the movement can contribute to a foamy release if a can is opened immediately.